Tag: IDM382

  • Arduynthisizer: A Digital Arduino Piano

    IDM382: Internet of Things by Wynn O’Donnell

    Overview

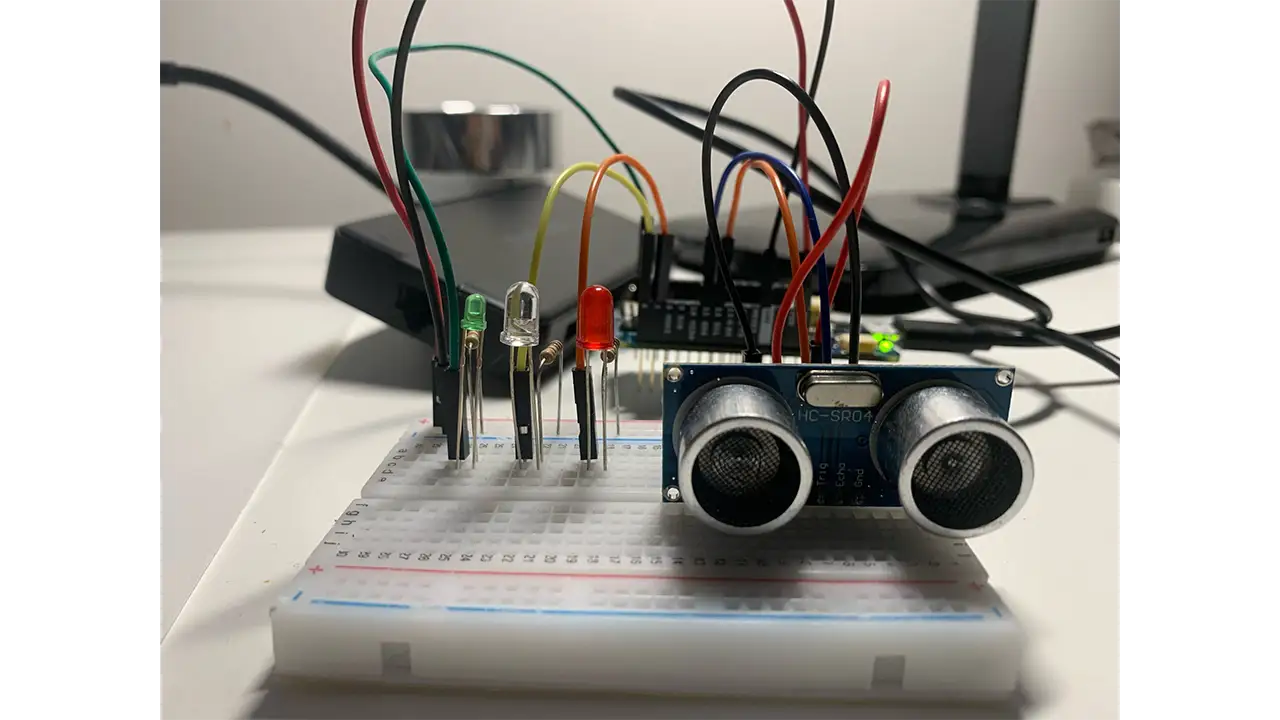
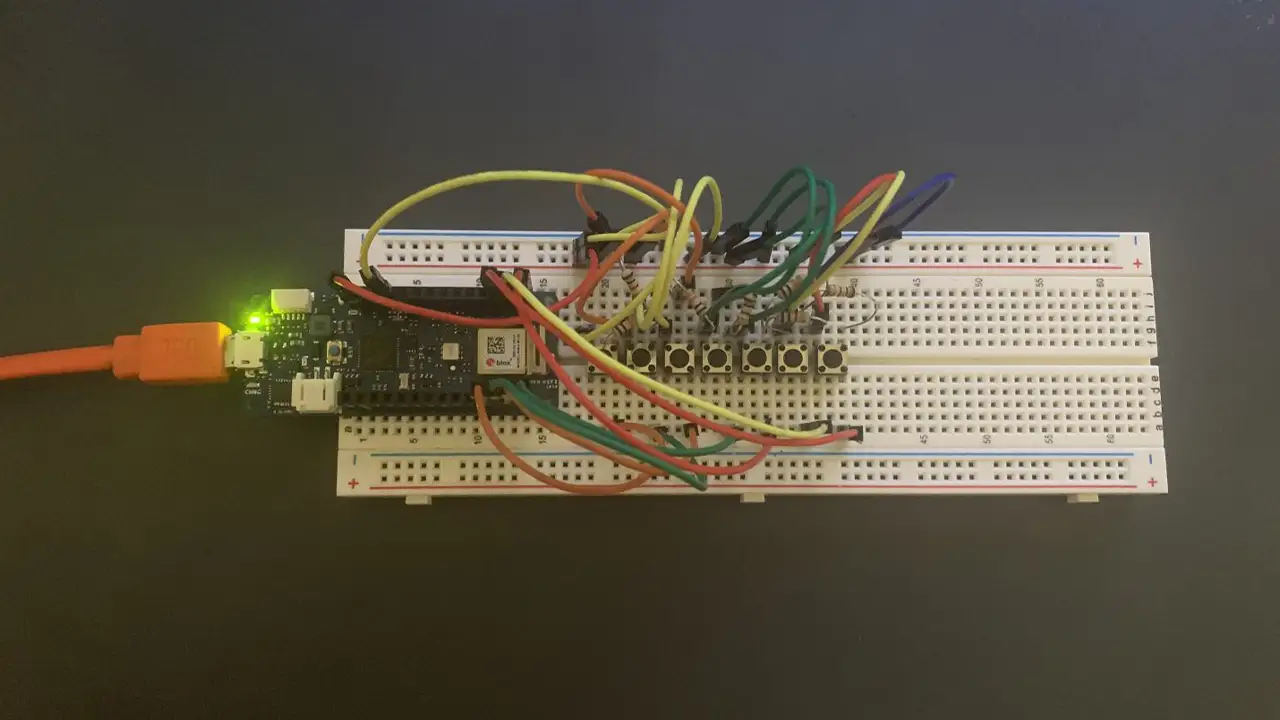
    For this project, I worked on developing an Arduino Piano with sound that can be modified and played through a browser. I called the original product in West107 the Arduorgan, a combination of the word Arduino, and the word Organ, a large piano-like musical instrument. If I go through with that theme this project will be called the Arduynthesizer, as it is an Arduino synthesizer. The Arduynthesizer will send signals to a browser when a button is pressed on it, and the browser will produce a sound based on the settings selected in the browser. The user will control the Arduynthesizer by pressing buttons on the Arduino, and by changing settings in a browser window with sliders. These sliders will include Pitch, volume, and tone.

    Breadboard with Arduino, wires, and buttons, showing the layout of the project.

    Goals

    • Add more features to an Arduino piano I created in West107
    • Make it more like a synthesizer
    • Add variation to the sounds it can produce
    • Make the sound to be able to be controlled and heard from a browser window

    Final Presentation

    Sample Code

                /* 
                  #include "thingProperties.h"
    
                  const int buttonPin1 = 2;
                  const int buttonPin2 = 3;
                  const int buttonPin3 = 4;
                  const int buttonPin4 = 5;
                  const int buttonPin5 = 6;
                  const int buttonPin6 = 7;
                  const int buttonPin7 = 8;// the number of the pushbutton pin
                  const int ledPin =  13;      // the number of the LED pin
                  int buttonState1 = 0;
                  int buttonState2 = 0;
                  int buttonState3 = 0;
                  int buttonState4 = 0;
                  int buttonState5 = 0;
                  int buttonState6 = 0;
                  int buttonState7 = 0;
                  
                  String buttonpressStr1 = "Play C Note";
                  String buttonpressStr2 = "Play D Note";
                  String buttonpressStr3 = "Play E Note";
                  String buttonpressStr4 = "Play F Note";
                  String buttonpressStr5 = "Play G Note";
                  String buttonpressStr6 = "Play A Note";
                  String buttonpressStr7 = "Play B Note";
                  
                  void setup() {
                    // Defined in thingProperties.h
                    initProperties();
                      // Initialize serial and wait for port to open:
                    Serial.begin(9600);
                    // This delay gives the chance to wait for a Serial Monitor without 
                    blocking if none is found
                    delay(1500); 
                      // initialize the LED pin as an output:
                    pinMode(ledPin, OUTPUT);
                    // initialize the pushbutton pin as an input:
                    pinMode(buttonPin1, INPUT);
                    pinMode(buttonPin2, INPUT);
                    pinMode(buttonPin3, INPUT);
                    pinMode(buttonPin4, INPUT);
                    pinMode(buttonPin5, INPUT);
                    pinMode(buttonPin6, INPUT);
                    pinMode(buttonPin7, INPUT);
                  
                    // Connect to Arduino IoT Cloud
                    ArduinoCloud.begin(ArduinoIoTPreferredConnection);
                    
                    /*
                       The following function allows you to obtain more information
                       related to the state of network and IoT Cloud connection and errors,
                       the higher number the more granular information you’ll get.
                       The default is 0 (only errors).
                       Maximum is 4
                   */
                    setDebugMessageLevel(2);
                    ArduinoCloud.printDebugInfo();
                  }
                  
                  void loop() {
                    ArduinoCloud.update();
                    // Your code here 
                      buttonState1 = digitalRead(buttonPin1);
                      buttonState2 = digitalRead(buttonPin2);
                      buttonState3 = digitalRead(buttonPin3);
                      buttonState4 = digitalRead(buttonPin4);
                      buttonState5 = digitalRead(buttonPin5);
                      buttonState6 = digitalRead(buttonPin6);
                      buttonState7 = digitalRead(buttonPin7);
                  
                    // check if the pushbutton is pressed. If it is, the buttonState is HIGH:
                    if (buttonState1 == HIGH) {
                      // turn LED on:
                      digitalWrite(ledPin, HIGH);
                      Serial.println("Play C Note");
                      messenger = buttonpressStr1;
                    } else {
                      // turn LED off:
                      digitalWrite(ledPin, LOW);
                    }
                      if (buttonState2 == HIGH) {
                      // turn LED on:
                      digitalWrite(ledPin, HIGH);
                      Serial.println("Play D Note");
                      messenger = buttonpressStr2;
                    } else {
                      // turn LED off:
                      digitalWrite(ledPin, LOW);
                    }
                      if (buttonState3 == HIGH) {
                      // turn LED on:
                      digitalWrite(ledPin, HIGH);
                      Serial.println("Play E Note");
                      messenger = buttonpressStr3;
                    } else {
                      // turn LED off:
                      digitalWrite(ledPin, LOW);
                    }
                      if (buttonState4 == HIGH) {
                      // turn LED on:
                      digitalWrite(ledPin, HIGH);
                      Serial.println("Play F Note");
                      messenger = buttonpressStr4;
                    } else {
                      // turn LED off:
                      digitalWrite(ledPin, LOW);
                    }
                      if (buttonState5 == HIGH) {
                      // turn LED on:
                      digitalWrite(ledPin, HIGH);
                      Serial.println("Play G Note");
                      messenger = buttonpressStr5;
                    } else {
                      // turn LED off:
                      digitalWrite(ledPin, LOW);
                    }
                      if (buttonState6 == HIGH) {
                      // turn LED on:
                      digitalWrite(ledPin, HIGH);
                      Serial.println("Play A Note");
                      messenger = buttonpressStr6;
                    } else {
                      // turn LED off:
                      digitalWrite(ledPin, LOW);
                    }
                        if (buttonState7 == HIGH) {
                      // turn LED on:
                      digitalWrite(ledPin, HIGH);
                      Serial.println("Play B Note");
                      messenger = buttonpressStr7;
                    } else {
                      // turn LED off:
                      digitalWrite(ledPin, LOW);
                    }
                  }//End loop
                  
                  
                  void onMessengerChange() {
                    // Do something
                  }
      
  • Reading Realm LED NeoPixel: Using Technology to Promote Education

    IDM382: Internet of Things by Leanne Chin

    Overview

    Over the past 11 weeks, I worked on developing a device using the Internet of Things to be able to control a series of NeoPixel lights using a web browser in order to promote the use of technology to better the fundamental developmental growth of early childhood education. Through this project, I not only learned about the educational benefits that colors bring to a child’s education but also the process of understanding how to wire breadboards and work with Arduino without short-circuiting any equipment. I learned how to use a variety of different tools to reach my goal of working on my device online and how to adapt my code to each program.

    LED lights with a recording of the controller interface in the bottom right corner to turn lights on and off.

    Goals

    • Allow online access from online dashboard to control LED lights
    • Debug problem with sticky buttons
    • Debug problem where clicking onto one button

    Final Presentation

    Future Plans

    • Seeing if it is possible to attach a projector to the Arduino
    • Developing an interactive story book projector that reacts to the buttons that are pressed using IoT

    Sample Code

     
    void loop() {
        ArduinoCloud.update();
        // Your code here 
        //Serial.println("looping");
        
        for(int i=0;i<NUMPIXELS;i++){
    
          // pixels.Color takes RGB values, from 0,0,0 up to 255,255,255
          pixels.setPixelColor(i, pixels.Color(redColor, greenColor, blueColor)); 
          // Moderately bright green color.
    
          pixels.show(); // This sends the updated pixel color to the hardware.
    
          delay(delayval); // Delay for a period of time (in milliseconds).
          
          // Serial.println(i);
          
        }
        
      } // END LOOP 
    
    
      void onLEDbuttonChange() {
        // Do something
      }
    
      void onButton1Change() {
        // Do something
        
        Serial.println("virtual button click");
        
        lEDbutton = "Button Color 1 Pushed";
          
          noColor();
        
      } // End Here
    
      void onButton2Change() {
        // Do something
        
        lEDbutton = "Button Color 2 Pushed";
        
        setColor();
        
      } // End Here
    
    
      void onButton3Change() {
        // Do something
        
        lEDbutton = "Button Color 3 Pushed";
        
        setColor2();
      }
    
      void noColor() {
        redColor = 0;
        greenColor = 0;
        blueColor = 0;
      };
    
    
      void setColor(){
        redColor = 0;
        greenColor = 255;
        blueColor = 255;
        Serial.print("red: ");
        Serial.print("green: ");
        Serial.print("blue: ");
        
      };
    
      void setColor2() {
        redColor = 255;
        greenColor = 0;
        blueColor = 255;
    };
      
  • Proximity Measurer: Practicing Perfect Social Distancing with Technology

    IDM 382: Internet of Things by Chelsea James

    Overview

    In today’s world, COVID-19 is rampant and it is in our hands to stay safe and do our best to protect ourselves from it. The Proximity Measurer is a way to determine if you are too close to someone. This Proximity Measurer uses an ultrasonic sensor to determine the distance of a person by using sound waves. If you are within 6 feet (about 183 cm), the device with flash red and you will get a “Too close!” warning message that states your distance. If you are beyond 6 feet, the green light will flash, indicating that you are a safe distance away and you will get a “Safe!” message that has your distance in centimeters.

    Breadboard set up for the proximity detector, including the distance reader and lights.

    Goals

    • Track distance of a user
    • Flash red & green lights
    • Display warning messages
    • Allow the user to see light, warning message, and distance on the cloud

    Final Presentation

    Lesson Learned

    I was able to add the finishing touches to my project. I ran into many issues before getting to this point and I learned a lot about the process of troubleshooting. I did some experimenting with my project and I even tried it on an Arduino Uno which helped me figure out what my issue was. It took a lot of trial and error to find out what my issues were but once I got it working, it felt very rewarding.

    I have had issues with my project for weeks. I tried troubleshooting many different ways and I still couldn’t get it to work. I thought my project wouldn’t work at all and I was ready to use a backup project that I had done a few years ago. The issue that I found was that my ultrasonic sensor is an analog sensor and it did not work in the digital pins. Since it is analog it worked on the Marker 1010’s analog pins (A1, A2 etc.) I’m not entirely sure why it only works on analog pins because when I tested it on my Arduino Uno it worked on analog pins.


    Sample Code

        
            #include "thingProperties.h"
    
            // sensor
            int cm = 0;
            int distance = 0;
    
            long readUltrasonicDistance(int triggerPin, int echoPin)
            {
            pinMode(triggerPin, OUTPUT);  
            digitalWrite(triggerPin, LOW);
            delayMicroseconds(2);
            // Sets the trigger pin to HIGH state for 10 microseconds
            digitalWrite(triggerPin, HIGH);
            delayMicroseconds(10);
            digitalWrite(triggerPin, LOW);
            pinMode(echoPin, INPUT);
            // Reads the echo pin, and returns the sound wave travel time 
               in microseconds
            return pulseIn(echoPin, HIGH);
            }
    
            //CUSTOM TIMERS
            long lastMessageTime = 0;
            long messagedDelay = 3000;
    
            String lastMessageTimeStr = "";
    
            void setup() {
            // Initialize serial and wait for port to open:
            Serial.begin(9600);
            // This delay gives the chance to wait for a Serial Monitor without 
               blocking if none is found
            delay(1500); 
            pinMode(5, OUTPUT);
            // pinMode(6, OUTPUT);
            pinMode(7, OUTPUT);
            // Defined in thingProperties.h
            initProperties();
            // Connect to Arduino IoT Cloud
            ArduinoCloud.begin(ArduinoIoTPreferredConnection);
            /*
                The following function allows you to obtain more information
                related to the state of network and IoT Cloud connection and errors
                the higher number the more granular information you’ll get.
                The default is 0 (only errors).
                Maximum is 4
            */
            setDebugMessageLevel(2);
            ArduinoCloud.printDebugInfo();
            }
    
            void loop() {
            ArduinoCloud.update();
            // Your code here 
            {
                cm = 0.01723 * readUltrasonicDistance( A1, A2);
                Serial.print(cm);
                Serial.println(" cm");
                // if the distance is further than 350 turn LED off
                //350cm = 11.5 feet
                if (cm > 350) {
                    digitalWrite(5, HIGH);
                    digitalWrite(6, LOW);
                    digitalWrite(7, LOW);
                }
                // GREEN ON = SAFE
                //250cm= 8.2 ft
                if (cm <= 350 && cm > 183) {
                    digitalWrite(5, HIGH);
                    digitalWrite(6, LOW);
                    digitalWrite(7, LOW);
                }
                //RED ON= NOT SAFE
                //6 feet= 182.88 cm
                if (cm <= 183 && cm > 0) {
                    digitalWrite(5, LOW);
                    digitalWrite(6, LOW);
                    digitalWrite(7, HIGH);
                }
                // RED ON= REALLY NOT SAFE
                if (cm <= 0) {
                    digitalWrite(5, LOW);
                    digitalWrite(6, LOW);
                    digitalWrite(7, HIGH);
                }
                }
    
            //RED light switch
            if (cm <= 183 && cm > 0) {
            lightswitch = false;
            measurer =  lastMessageTimeStr +"Too close!! Your distance is " + cm + "cm!";
            messagedDelay;
            } else {
            lightswitch = true;
            measurer =  lastMessageTimeStr +"Safe! Your distance is " + cm + "cm!";
            messagedDelay;
            }
            }
            //END LOOP
    
            void onMeasurerChange() {
            // Do something
            }
            void onLightswitchChange() {
            // Do something
            }